Working With Docs
1. Introduction
The Docs of docker-scripts are in a repository hosted on GitLab: https://gitlab.com/docker-scripts/docker-scripts.gitlab.io
They are based on Antora and AsciiDoc and follow the well-known Docs-as-Code philosophy.
2. Online editing
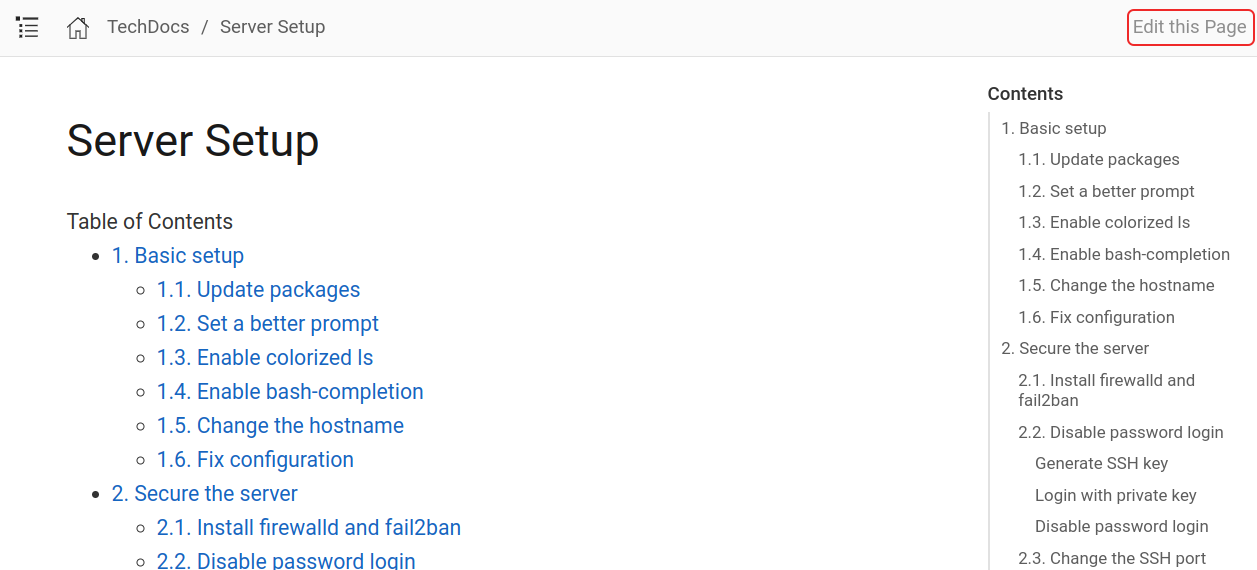
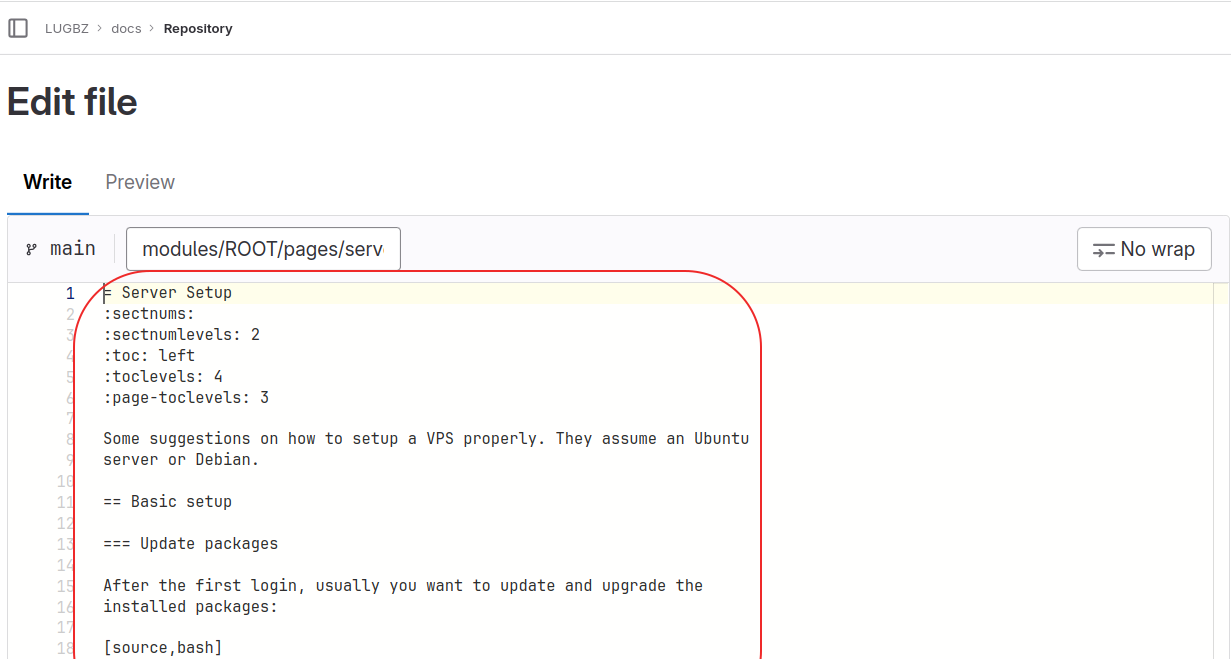
On the upper-right corner of the page there is a button "Edit this page". If clicked, it will open the corresponding page on the GitLab repo, in edit mode, as shown in the figure.
|
|
This is wiki-style editing, suitable for small corrections or suggestions. The syntax is of course AsciiDoc (we will see more about it later).
After making some modifications, you can make a commit and submit a merge-request.
3. GitLab pages
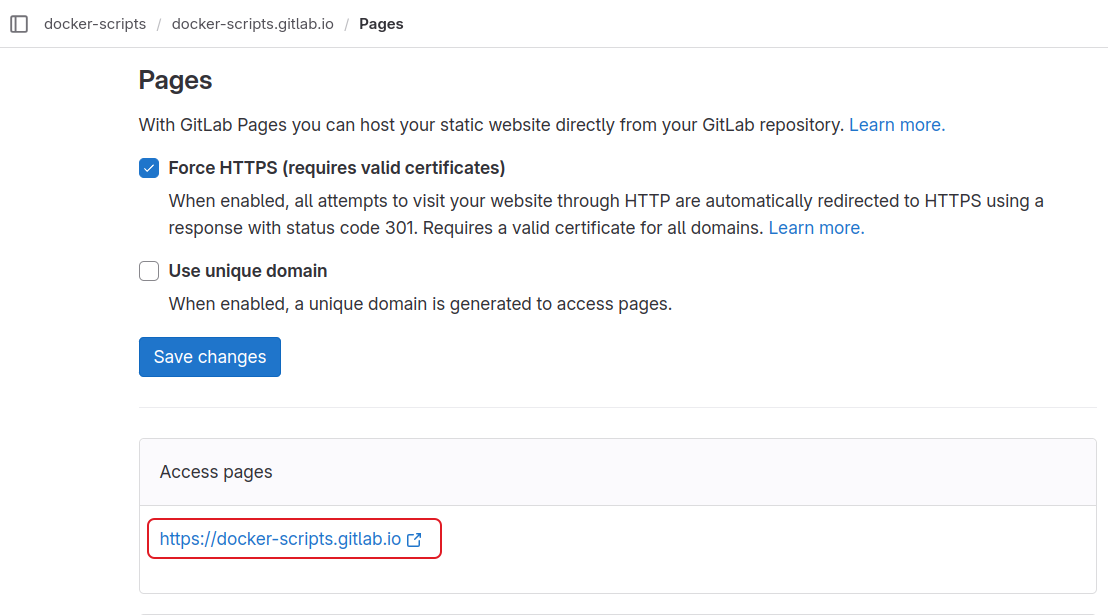
The docs are published on GitLab pages, at: https://docker-scripts.gitlab.io/
This can be checked at "Deploy → Pages" on the GitLab menu.
We can also add a custom domain, as shown in this screenshot:
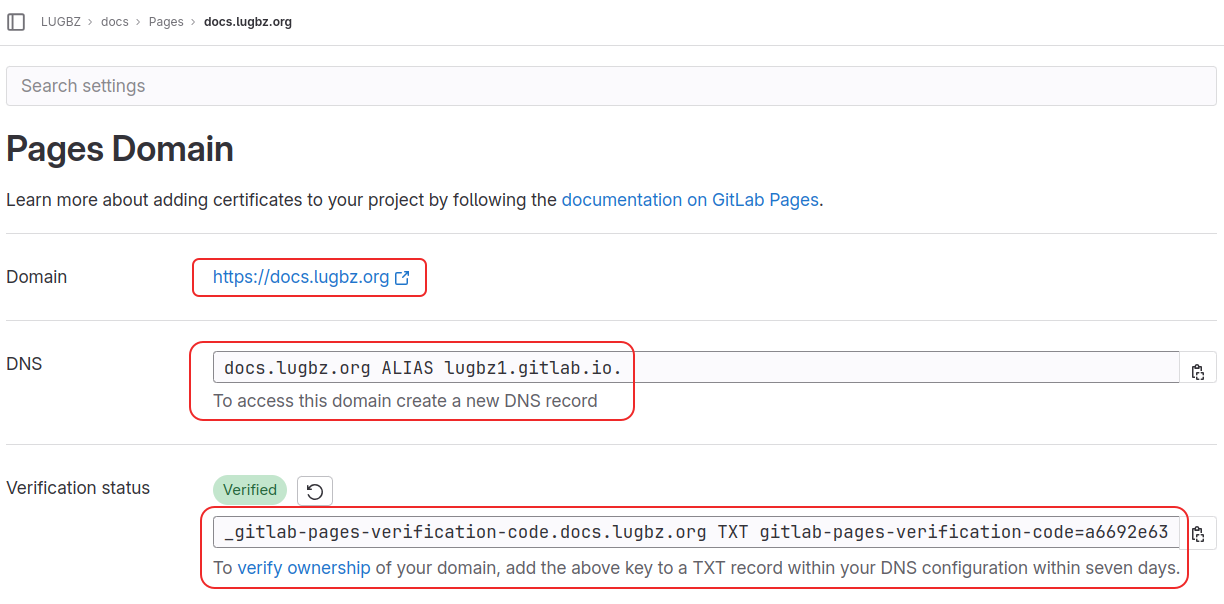
For this, we are required to add an ALIAS and a TXT record on the custom domain, so that GitLab can verify that we really own this domain.
4. Auto-publishing
Whenever some changes are made, the published pages are updated automatically. How does this happen?
The key to understanding this is the file
.gitlab-ci.yml, which instructs
the CI/CD (Continuous Integration and Development) system of GitLab to
do something whenever the content of the project is updated (for
example some commits are pushed or a Merge Request is accepted).
The content of this file looks like this:
image: node:21     (1)

workflow:          (2)
  rules:
    - if: '$CI_COMMIT_BRANCH'

before_script:     (3)
  - npm install

pages:             (4)
  stage: deploy
  rules:
    - if: '$CI_COMMIT_BRANCH == "main"'
  script:
    - npx antora build.yml
  artifacts:
    paths:
      - public/

test:              (5)
  stage: test
  rules:
    - if: '$CI_COMMIT_BRANCH != "main"'
  script:
    - npx antora build.yml --log-failure-level=error
  artifacts:
    paths:
- public/| 1 | The line image: node:21 tells GitLab to start up a
NodeJS Docker container. Implicitly,
it also makes a clone of the repo inside this container. |
| 2 | The rules: in the workflow: part have the meaning: if
changes are pushed to any branch. |
| 3 | Install the required NodeJS packages (dependencies), before
running any scripts. They are listed in
package.json:
package.json |
| 4 | The part pages: is about generating the GitLab pages for this
project. The content of the field shows how to do it. Basically, in
plain English, it says something like this:
|
| 5 | The section test: is very similar to pages:, but it is
triggered only when there is a commit on a branch different from
"main", and the command that is executed in this case has the
additional option --log-failure-level=error.
The purpose of this section is to test the modifications that are proposed in a merge-request. If the command runs without errors, the test is passed, otherwise the test fails. If the test fails, this is an indication that there is something to be fixed (maybe a wrong AsciiDoc syntax, or something else) before the merge-request can be accepted. |
You can check the page "Build → Pipelines" (on the GitLab menu) to see more details about pipelines and their status. This can be very useful especially when a job has failed, because you can also check the log messages and hopefully find out what was the problem.
5. Working locally
The best way for working with the docs is to make a local clone of the repo and to use your own preferred editor.
5.1. Installation
-
Make a clone of the docs repo:
git clone https://gitlab.com/docker-scripts/docker-scripts.gitlab.io cd docker-scripts.gitlab.io/ -
Install
nvm(we need it for installing and managing NodeJS):wget -qO- https://raw.githubusercontent.com/nvm-sh/nvm/v0.39.5/install.sh | bash source ~/.bashrc command -v nvm -
Install the latest Node LTS release:
nvm install --lts node --version -
Install antora packages:
npm install
npx antora -v
Now we can generate the static HTML pages of the docs with a command like this:
npx antora build-dev.ymlHowever, before doing this, we should modify a little bit the file
build-dev.yml.
The content of this file is like this:
site:
  title: DS Docs
  url: /home/dasho/Downloads/tmp/ds-docs
  start_page: ROOT::index.adoc

content:
  sources:
  - url: .
    start_path: .

antora:
  extensions:
  - require: '@antora/lunr-extension'
    index_latest_only: true

ui:
  bundle:
    #url: https://gitlab.com/antora/antora-ui-default/-/jobs/artifacts/master/raw/build/ui-bundle.zip?job=bundle-stable
    #url: https://github.com/mulesoft/docs-site-ui/releases/download/prod-28/ui-bundle.zip
    url: ./ui-bundle.zip
    snapshot: true
  supplemental_files: ./ui-supplemental
  output_dir: ui

asciidoc:
  attributes:
    page-pagination: true
  extensions:
  - ./lib/remote-include-processor

runtime:
  cache_dir: ./.cache/

output:
dir: ~/Downloads/tmp/ds-docssite.url-
This is the absolute path of the directory where the HTML docs are generated.
output.dir-
This is the path (absolute or relative) of the directory where the HTML docs are generated.
5.2. Editing
The content of the docs is located at modules/ROOT/. We can
edit them with our preferred editor (for me it is Emacs).
The file nav.adoc in this directory is the navigation file. It
is displayed as the menu on the left panel. It also defines the
buttons "Next" and "Previous" at the end of each page. Whenever we add
a new page to the docs, it is recommended to add it to the
navigation list as well.
The directory pages/ contains the documentation pages (in
AsciiDoc format), and the directory images/ contains the
images that are referenced from these pages.
Whenever we make some changes to the docs, we should also run
npx antora build-dev.yml to regenerate the HTML pages, and then
open them on the browser (or just reload the browser tab) in order to
check the effect of our changes.
We can also use the script utils/watch.sh (start it in another
terminal tab). It will automatically rebuild the docs whenever we save
some changes (but we still have to reload the HTML page manually,
usually with Ctrl+r).
utils/watch.sh
#!/bin/bash
# Watch for modifications and rebuild the dev docs automatically.
# Depends on inotify-tools (apt install inotify-tools)

cd $(dirname $0)
cd ..

inotifywait -qmr -e modify --exclude '\.?#.*' modules/ \
  | sed --unbuffered -n '1~2p' \
  | while read event; do
      echo "$(date +'%F %T') $event"
      npx antora build-dev.yml
done5.3. Commit workflow
The preferred way for submitting changes to the docs is:
-
create a new branch
-
add commits to it
-
submit a merge-request
For example:
git checkout -b changes-to-the-docs

# make changes, test and commit
# make changes, test and commit

git push origin changes-to-the-docs

# go to https://gitlab.com/lugbz/docs
# and create a merge request

# make some more changes and commits

# push again:
git push origin changes-to-the-docs
Finally, after the merge-request has been accepted:
git checkout main
git pull --prune
git branch -a
git branch -d changes-to-the-docs
Sometimes the option -D is required, instead of -d,
in order to delete the branch.
|
6. Examples
To get some familiarity with Antora and AsciiDoc, it is useful to have a look at the code of some pages, and see how they are rendered to HTML.
-
Web page: :server-setup.adoc
AsciiDoc code: server-setup.adoc
-
Web page: :simple-smtp-server.adoc
AsciiDoc code: simple-smtp-server.adoc
7. AsciiDoc tutorials
AsciiDoc is a plain text markup language for writing technical content. It can be as powerful as DocBook, and as simple as Markdown, depending on your needs.
8. Customizations
Antora has a clear separation between the content and the
presentation. The look of the site is defined by the ui-bundle:
ui:
  bundle:
    #url: https://gitlab.com/antora/antora-ui-default/-/jobs/artifacts/master/raw/build/ui-bundle.zip?job=bundle-stable
    #url: https://github.com/mulesoft/docs-site-ui/releases/download/prod-28/ui-bundle.zip
    url: ./ui-bundle.zip
    snapshot: true
  supplemental_files: ./ui-supplemental
  output_dir: ui
However we can override and/or extend the default templates by the
files on the directory ui-supplemental/:
ui-supplemental/
├── css
│   └── custom.css
├── img
│   └── icon
│       └── favicon.ico
├── js
│   ├── medium-zoom.config.js
│   ├── talkyard-comments.min.js
│   └── vendor
│       └── medium-zoom.min.js
├── partials
│   ├── article.hbs
│   ├── comments.hbs
│   ├── footer-content.hbs
│   ├── footer-scripts.hbs
│   ├── header-content.hbs
│   ├── head-icons.hbs
│   ├── head-styles.hbs
│   ├── nav.hbs
│   ├── nav-menu.hbs
│   └── toolbar.hbs
└── ui.yml